
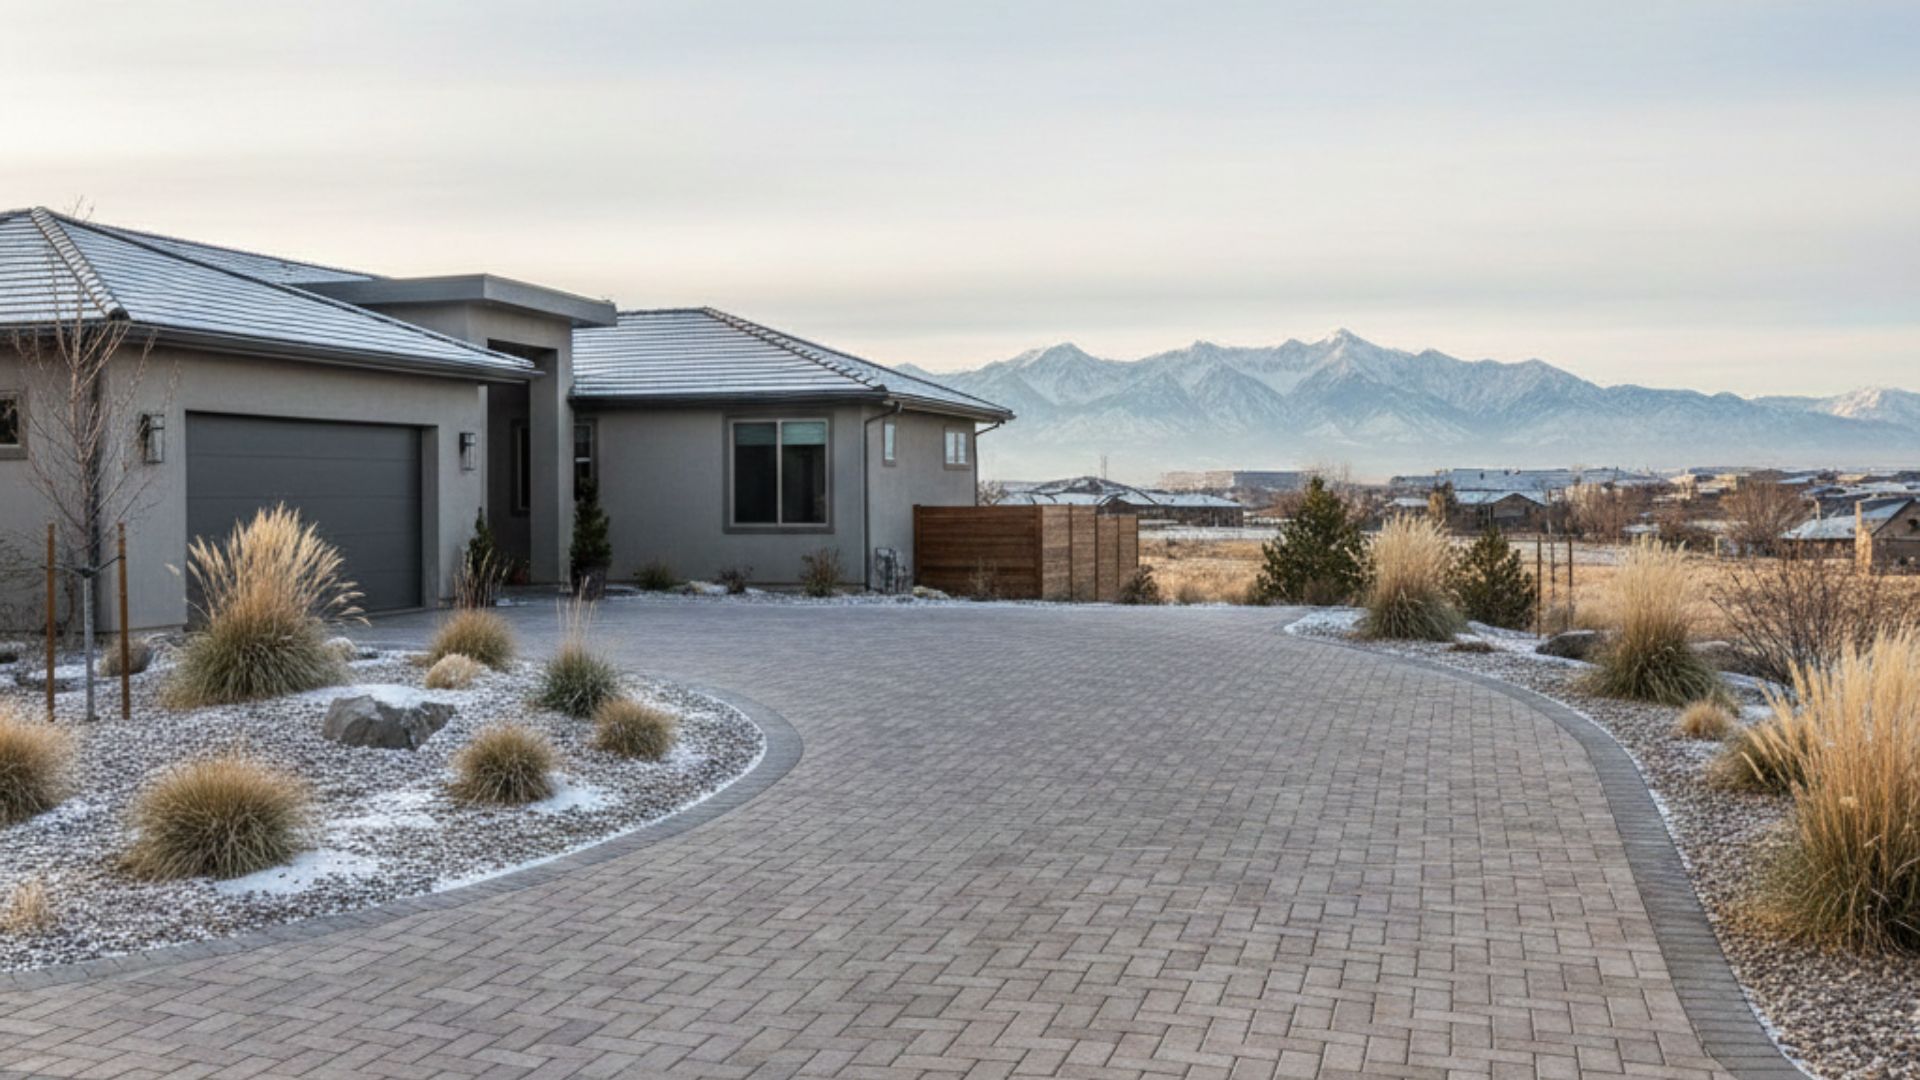
How to Plan a Paver Driveway Project Before Spring Scheduling Fills Up
February in northern Nevada brings a unique window of opportunity. While snow still dusts the Sierra peaks and temperatures hover in the 40s and 50s, savvy homeowners are already thinking ahead to their outdoor projects. If you’re considering a new paver driveway, now is the perfect time to start planning, long before contractors’ calendars fill up and installation season arrives in earnest.
The truth is, most people underestimate how much goes into a successful driveway project. It’s not just about picking pretty pavers and calling a contractor. Thoughtful paver driveway planning Reno homeowners do now saves headaches later, from avoiding drainage disasters to ensuring your design actually complements your home’s architecture. When you take the time to prepare properly during these quieter winter months, you set yourself up for a smooth installation when spring arrives and you’re ready to transform your property’s curb appeal.
Why Starting Now Matters More Than You Think
Spring typically brings a rush of landscaping inquiries across the Reno area. Homeowners who wait until March or April to start planning often find themselves facing 6-8 week wait times or longer before installation can even begin. By contrast, homeowners who reach out in February have their choice of installation windows and more time to refine their design vision without feeling rushed into decisions.
There’s another advantage to early planning that doesn’t get talked about enough. The design consultation process works best when you have time to think, ask questions, and revisit ideas. When you’re not competing with dozens of other projects for attention, you get more collaborative design time and can explore creative options you might not have considered initially. This is the perfect opportunity to explore professional landscape design and rendering services that help visualize your project before installation begins.
Measuring Your Space and Understanding Site Conditions
Before you fall in love with a particular paver pattern or color scheme, you need to understand what you’re actually working with. Start by measuring the length and width of your existing driveway or the area where you want to install one. Don’t forget to note any slopes, the location of your garage door, and how much space you need for vehicle turnaround if applicable.
Reno’s unique high-desert climate and soil conditions play a significant role in driveway performance. The freeze-thaw cycles we experience, while less severe than other regions, still matter for base preparation. Clay-heavy soils in parts of Sparks require different approaches than the sandier soils found in other neighborhoods. Take note of any existing drainage issues, standing water after storms, or areas where runoff currently flows.
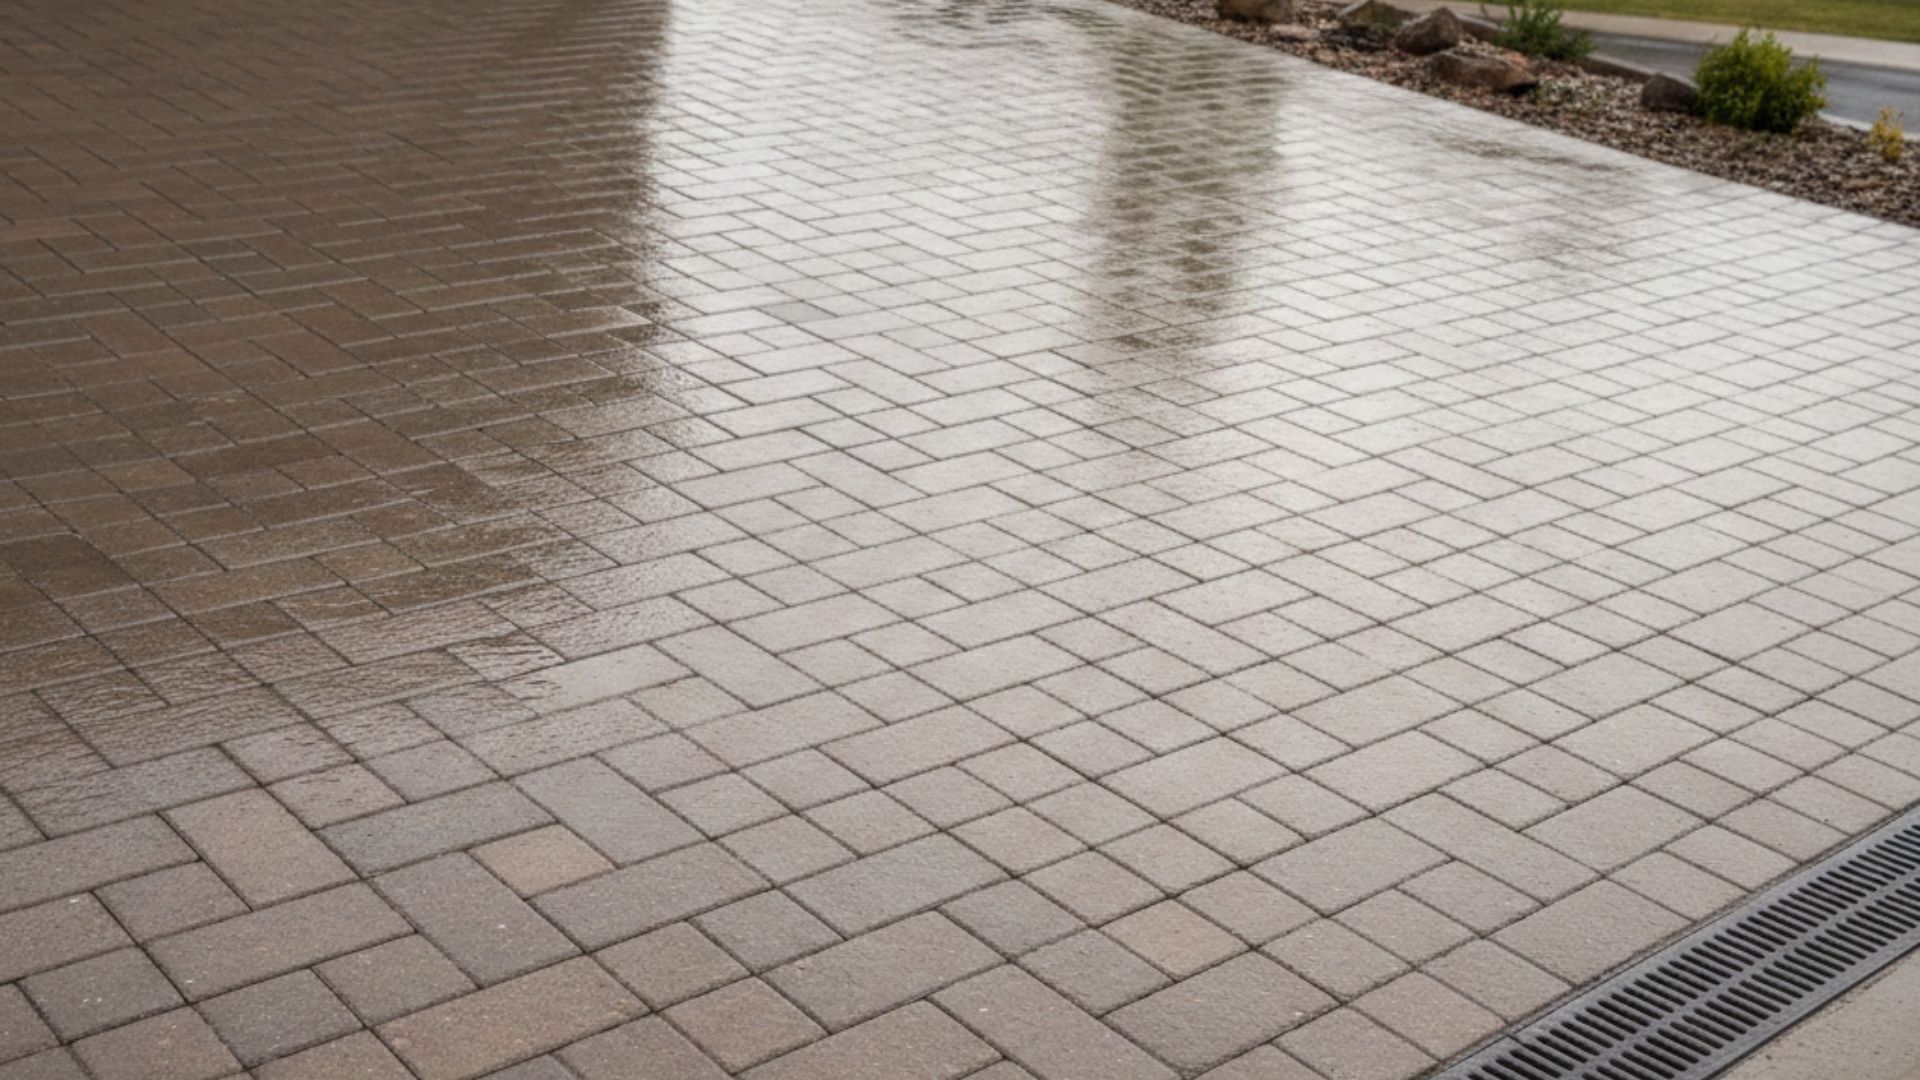
Walk your property after a rainstorm if possible. Where does water naturally flow? Are there low spots where water pools? Understanding these patterns now prevents expensive fixes later when water starts undermining your beautiful new pavers.
Choosing a Driveway Design That Works for Your Home
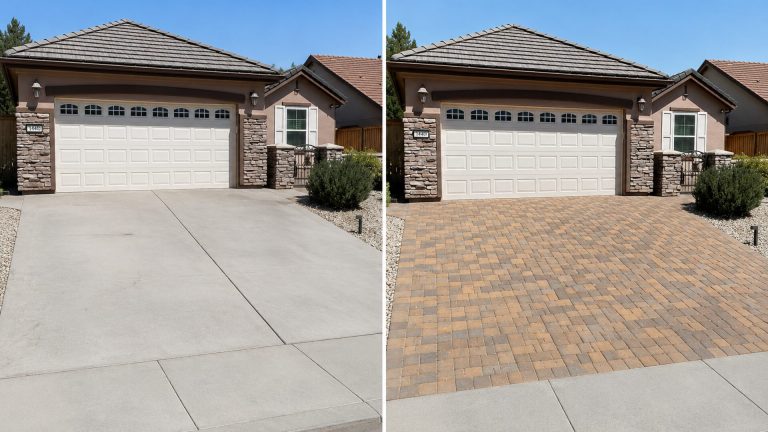
The most stunning driveway design Sparks and Reno homeowners invest in shares one common trait: it looks like it belongs with the house. Your driveway shouldn’t compete with your home’s architecture. It should enhance it.
Consider your home’s style as your starting point:
For traditional homes: Classic herringbone or running bond patterns in neutral earth tones create timeless appeal. Soldier course borders add definition without overwhelming the design.
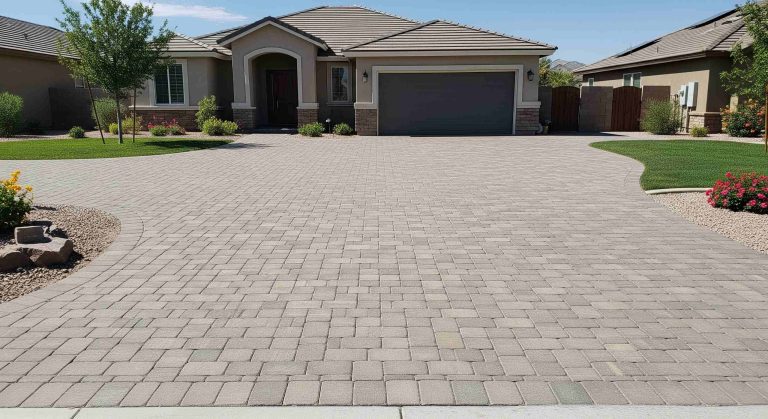
For contemporary homes: Large-format pavers in sleek grays or charcoal with clean, geometric patterns complement modern architecture. Minimalist borders or no borders at all maintain the streamlined aesthetic.
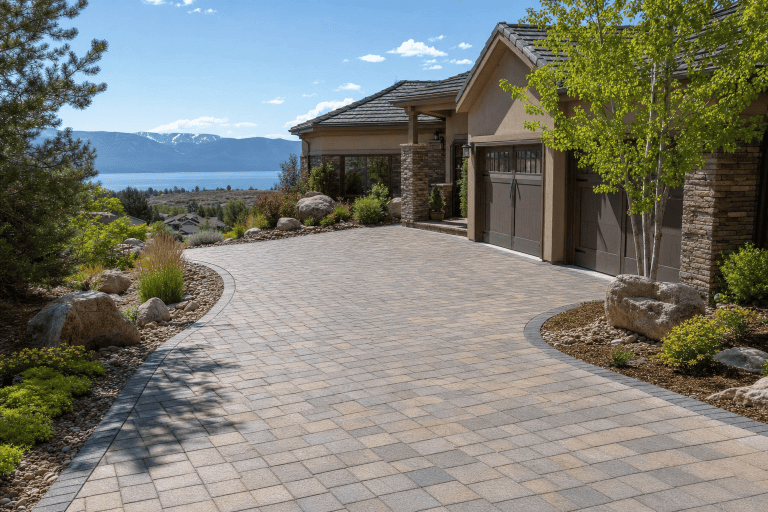
For rustic or mountain-style homes: Tumbled pavers in warmer earth tones, possibly with varied textures, echo the natural surroundings of the Sierra Nevada foothills.
Color matters too, but think beyond personal preference. Lighter colors show less dirt and stay cooler in summer heat, while darker pavers can make snow melt faster during our occasional winter storms. Medium tones often strike the best balance for year-round performance in northern Nevada’s varied climate. Browse our project gallery to see how different paver styles and patterns look in completed installations.
Drainage Planning: The Unsexy Detail That Makes or Breaks Your Project
Let’s be honest. Nobody dreams about drainage when they imagine their new driveway. But proper drainage planning is absolutely critical in our region. Reno averages about 7-8 inches of precipitation annually, but when rain comes, it often arrives in intense bursts. Add spring snowmelt to the equation, and you need a driveway that handles water intelligently.
Your driveway should slope slightly away from your home and garage, typically at about 2% grade. That means for every 10 feet, the surface drops about 2.5 inches. This gentle slope directs water away from structures without being noticeable to the eye or affecting driving.
Consider where that water will go. Some driveway install Carson City and Reno projects incorporate permeable pavers with wider joints that allow water infiltration. Others use traditional pavers with strategic surface drainage to collection points. The right solution depends on your property’s specific conditions, local regulations, and soil permeability. In some cases, integrating professional irrigation systems or retaining walls can help manage water flow and protect your investment.
Creating Your Project Timeline
Here’s a realistic timeline for planning and executing a paver driveway project:
February (Now): Initial research, design consultation, site assessment, and preliminary planning. Measure your space, gather inspiration photos, and start conversations with contractors. This aligns perfectly with winter planning strategies for spring hardscape projects.
March: Finalize design details, review material options, confirm installation schedule, and complete any necessary permits.
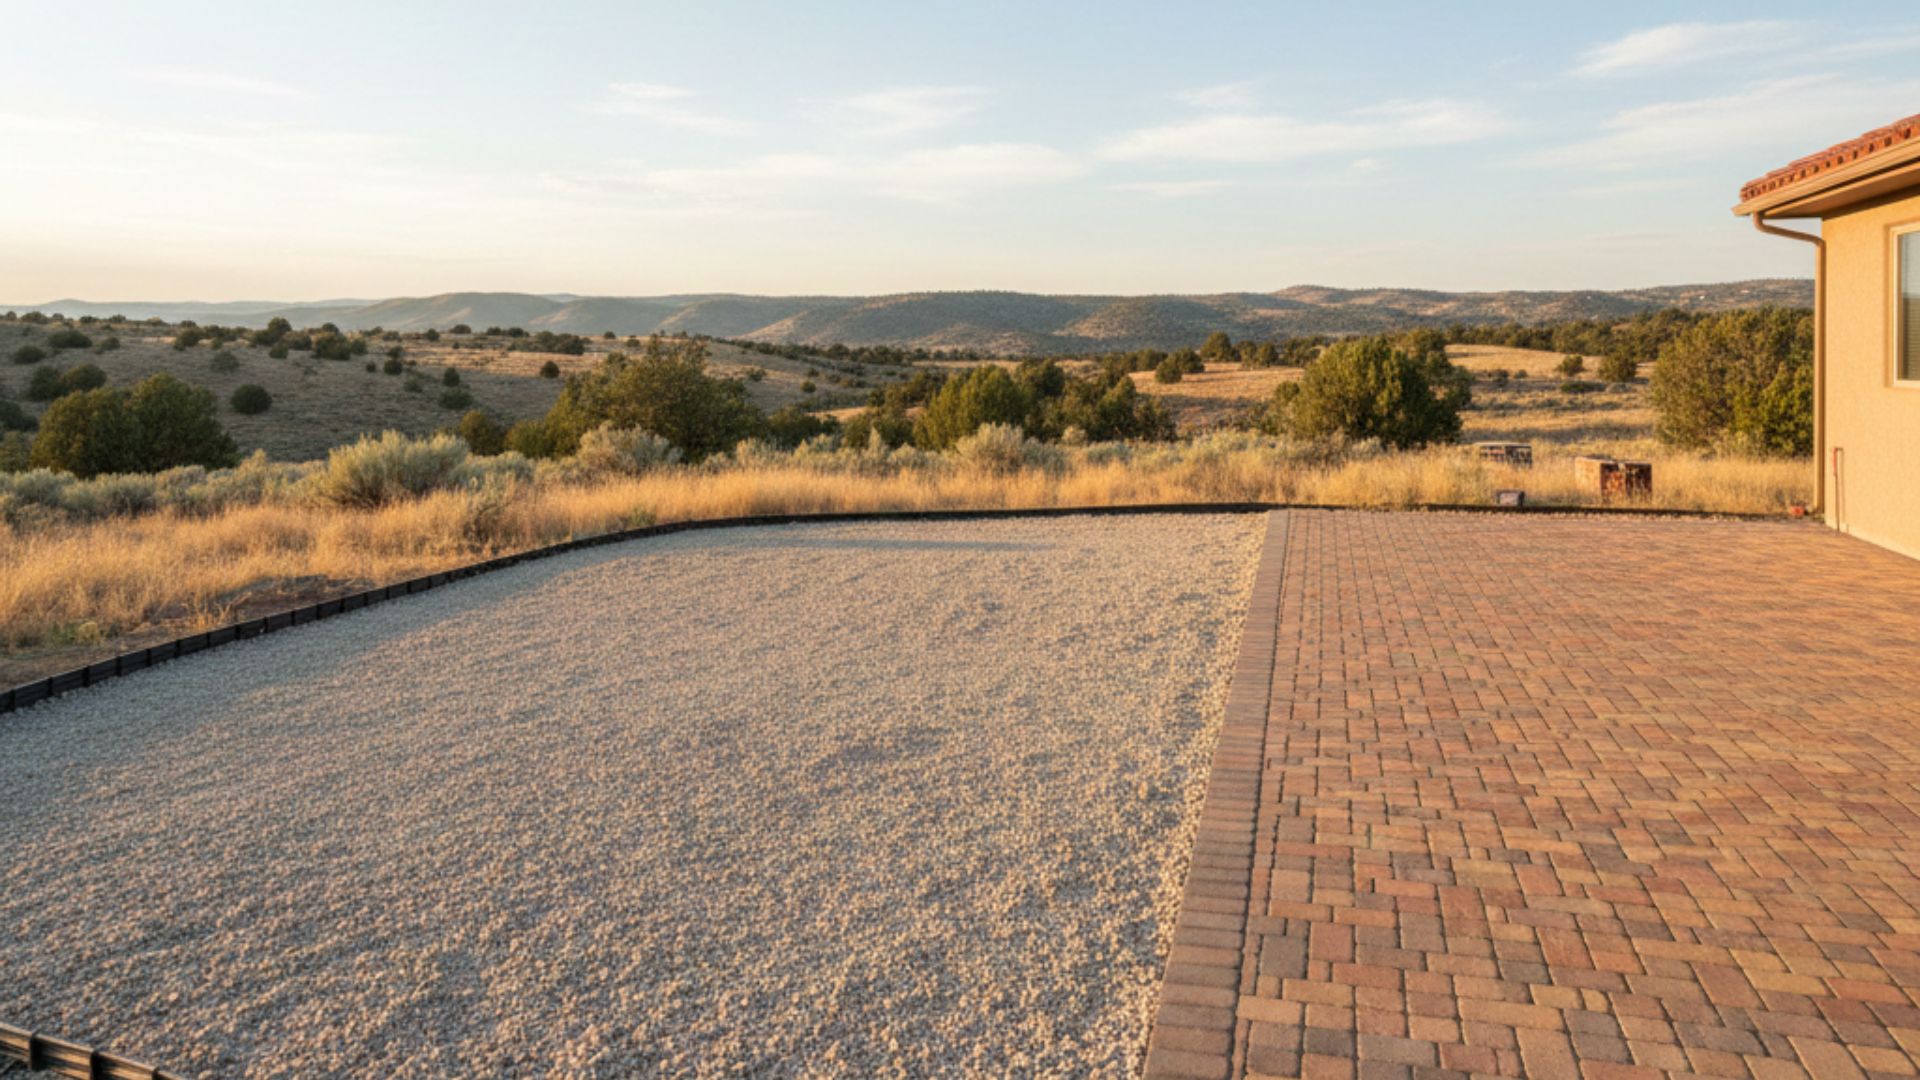
April-May: Installation window. Ground conditions are typically ideal after spring thaw but before summer heat. Contractors have more availability than later in the season.
June and Beyond: Prime installation season, but calendars fill up. You may face delays or limited flexibility in scheduling.
Starting now gives you roughly 8-10 weeks to plan thoroughly before ideal installation conditions arrive. That’s enough time to make thoughtful decisions without rushing, explore different design options, and ensure every detail is considered.
The Planning Checklist You Need
Use this checklist to guide your preparation:
Site Assessment
- Measure driveway area (length, width, any irregular sections)
- Document current drainage patterns and problem areas
- Photograph existing conditions from multiple angles
- Note sun exposure throughout the day
- Identify underground utilities (call 811 before any digging)
Design Decisions
- Select paver style, color, and texture
- Choose pattern (herringbone, running bond, basketweave, etc.)
- Decide on border treatment
- Consider accent colors or decorative elements
- Plan transitions to garage, sidewalks, or other hardscaping
Practical Considerations
- Determine vehicle load requirements (standard cars vs. heavy trucks)
- Plan for adequate turnaround space if needed
- Consider future maintenance access
- Think about outdoor lighting integration
- Account for mailbox, gate, or entrance feature placement
Why Experience Matters in Northern Nevada
Paver driveway installation isn’t one-size-fits-all. The techniques that work beautifully in temperate California don’t always translate to Reno’s high-desert environment. Base preparation needs to account for our expansive soils. Joint sand selection should consider our low humidity and occasional high winds. Edge restraint systems must handle freeze-thaw cycles without failing.
Working with a team that understands these regional nuances makes the difference between a driveway that looks good for a few years and one that performs beautifully for decades. Our Sierra Nevada location brings unique challenges, from altitude-related temperature swings to occasional extreme weather events. Local expertise isn’t just nice to have. It’s essential. Learn more about what makes experienced paver driveway installation successful in our region, and discover our team’s approach to quality hardscaping.
Taking the Next Step
The homeowners who feel most satisfied with their paver driveways share something in common: they planned ahead. They asked questions. They took time to understand their options instead of rushing into decisions. They worked with experienced teams who could guide them through the process with transparency and patience.
February gives you that gift of time. While installation season still feels distant, your preparation now determines your success later. You can explore design possibilities without pressure, address site challenges proactively, and secure your preferred installation window before spring schedules fill to capacity.
Ready to move from planning to action?Schedule your driveway consultation with our Reno team, or call us at 775-618-0621 to discuss your project. We’ll walk your property, answer your questions, and help you create a detailed plan that turns your driveway vision into reality. Explore ourcomplete paver driveway services to see how we can help transform your property. The best driveways start with the best planning, and spring will be here before you know it.
Frequently Asked Questions
How far in advance should I plan a paver driveway installation in Reno?
Begin planning in February if you want a spring installation. This gives you about 8 to 10 weeks to confirm design details, lock in your preferred installation dates, and avoid the scheduling rush that typically starts in March and April. Early planning also allows time for site evaluation, material selection, and permits without feeling pressured to rush decisions.
What driveway design considerations are important for northern Nevada’s climate?
Reno’s high desert climate requires planning for freeze and thaw cycles, a strong base to support expansive soils, and effective drainage for sudden heavy rain. Medium toned pavers often provide a good balance between heat absorption and long term appearance. Your chosen pattern should match your home’s style while also performing well through temperature swings and occasional severe weather.
How do I ensure proper drainage for my paver driveway in Reno?
Your driveway should slope away from the home at about a 2 percent grade, which equals roughly a 2.5 inch drop for every 10 feet. After rainfall, observe how water moves across your property to identify pooling areas. Permeable pavers can allow water to pass through the surface, while traditional pavers may require surface drains to guide runoff. In some cases, retaining walls or irrigation adjustments can support proper water control and protect your investment.
When is the best time to install a paver driveway in the Reno area?
April and May typically offer the best installation conditions. By then, the ground has thawed, and temperatures are moderate before peak summer heat arrives. Contractors may also have more availability compared to later months. Planning in February helps secure these preferred timeframes before schedules become limited. June and later months are often busier, which can affect flexibility.
What should I measure before starting a paver driveway project?
Measure the full length and width of your driveway, including any irregular sections. Record slope direction, garage entry points, and the space needed for vehicle turning. Pay attention to drainage patterns and areas where water collects. Note sun exposure during different parts of the day. Take photos from several angles and contact 811 to locate underground utilities. A detailed site review helps ensure accurate planning and reduces unexpected issues during installation.